Hello fellow crafters! I put together this tutorial to show how I added texture to these
Dusty Attic chippie trees found on my '
My Greatest Gift' page.
Let's get started!
Step 1: This step can be optional. I personally wanted to give my trees a bit more dimension so I lifted a couple of the branches up with my nails! lol Yep, Dusty Attic chipboard is pretty thick, so I just stuck my nails in the middle of each branch & just peeled back. I admit I have very strong nails--don't know what I eat to make them like this...but they NEVER break. They grow like claws & unless I cut them; they just keep on growing. If you don't have claws like mine any sharp object will work, such as scissors or maybe a thin craft spatula or even a small kitchen knife...it doesn't take much strength to just dig in there & peel back.
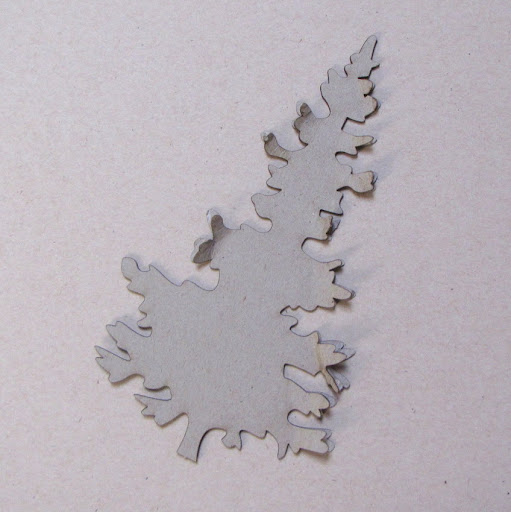
Step 2: So this is what my tree looked like when I was done peeling back a few of the branches. Now the fun begins.
Step 3: Start by applying gesso. I used a foam brush to apply the gesso. In the areas where you want your beads apply the gesso extra heavy. Once done applying the gesso, take your beads & drop them in the areas where you heavily applied the gesso. The beads should 'sink' into the gesso--but not be drowned in it.
To add more texture & some glimmer I randomly spread some Shaved Ice & Aged Rose Embossing Enamel both by Stampendous onto my tree.
Step 4: Heat set your tree--this will melt the embossing powder & shaved ice & dry the gesso so your beads will stick.
Step 4: Check out that texture! Love it!! Now at this point you can stop if you wish. But if you want to add even more pizzazz go onto Step 5.
Step 5: To add the impression of snow on the branches, I used white Puffy Paint. Puffy paint can be found in any arts & crafts store...try the t-shirt section! That's where I found mine.
Step 6: Heat set the puffy paint. With heat, the puffy paint...well, puffs! That's where it gets it's name. When puffy, it gives off the impression of snow.
You're done! You can leave the tree as is or add even more color. On my '
My Greatest Gift' page, I randomly added Pearlz Pretty In Pink paint by Shimmerz to my trees & the puffy paint. I just wanted my trees to be more on the pink side. It's all up to you, the artist, on how you want your trees to look!
Hope you all found this tutorial useful. Happy creating!


2 comments:
wow this is truly beautiful and an amazing mixed media tutorial, thanks so much for sharing.
Cool tree and how-to pics. I just happened to find your blog by Google search of info in chipboard with mixed media.
Post a Comment