Good evening fellow scrappers! Happy May--to me May is equivalent with mom. This particular Mother's Day was very specifal for me because it's the first Mother's Day that I'll be celebrating being a mom myself! What an incredibly rewarding feeling this is! So in honor of this speciall event here's a page made with me & my little guy. This is a DT page that I've made for
Authentique &
Clear Scraps. I've used Authentique's lovely papers from the 'Grace' collection. 'Grace' is geared towards mothers, sisters, daughters, grandmothers or friend. It's lovely mixture of florals, feminine patters & sweet sentiments which made it just right for this layout based on myself with my little guy.
As my son gets a bit older it's become quite clear that he's got my eyes. They are large, a bit on the almond shaped side & a perfect shade of dark brown. My husband's eyes are blue & I remember that I wished so much for my son's eyes to have my husbands ocean blue eyes. But fate decided that he would have his mother's eyes--and I'm so happy it turned out this way! I feel so very connected with him in many ways--but the fact that he has his mother's eyes adds one very extra special connection to me.
I've also used one of Clear Scraps newest additions--a Clearly Framed
Medium Circle Scallop Frame on this page.

As you can see, I've become addicted to these tiny flocked teddy bears that I buy at my local AC Moore. I've bought many of them in all different colors! They make for the cutest embellishments for child or baby themed pages!
The wooden sentiment spoke to me in a special way--basically because since my son was born I've always sang to him "You Are My Sunshine". Whether it's to soothe him from crying, to put him to sleep or to make him smile--the song does wonders for him.

I've once again used the hot air balloon die by La-La Land Crafts! I feel that it's the cutest die & can be decorated in several ways.
To make the waved border seen in the background of my page, I've used a template by
Kiwi Lane called Paisley Place. To further decorate this border I've adhered a bit of lace to the bottom layer & edge of the top layer is distressed & inked.

Here you can see several papers from the 'Grace' collection layered to form my background as well as one of their many stickers that are part of & coordinate with this collection.

Here's a close up of the
Clear Scraps Scallop Circle Frame. I first highlighted the border of the frame with a permanent white Sharpie Oil Based Paint Marker. I then cut the frame in half--ran each half through my Big Shot in order to dry emboss it & give it a bit of dimension & texture & I was done! This is a very simple technique for acrylic but adds a really nice subtle touch to any project.

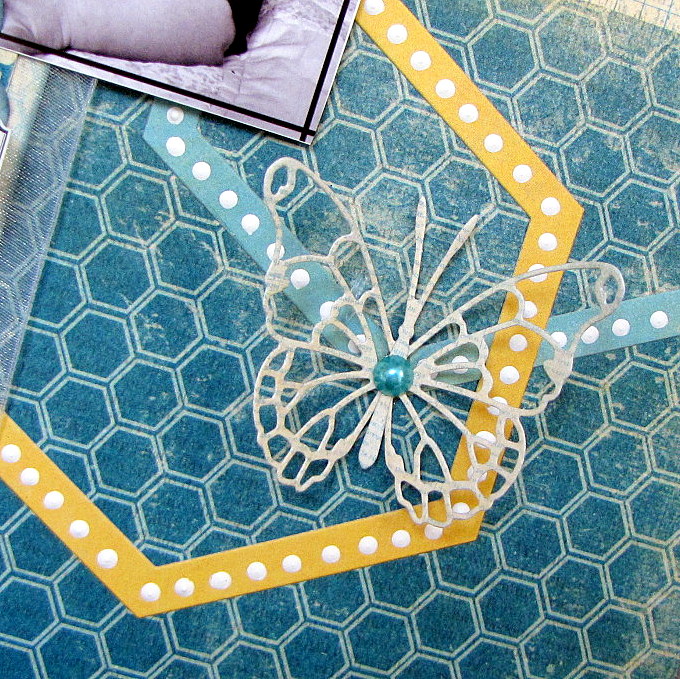
The butterflies are items from my small Etsy shop--these would be the 'Vintage Flair' butterflies. I have these & many other butterflies available in shop
here if interested.

This lovely handmade flower was bought from yet another Etsy shop titled 'More Paper Than Shoes'. Anna, the owner, makes many beautiful & delicate handmade flowers--not just for crafting but for weddings, corsages and more! You can check out her shop
here if interested.

I really enjoy all the little sentiments that came with this collection. I didn't have many coordinating embellies on hand for this page--but when I saw all of the little sentiments & stickers that came with 'Grace' I realized that I had nothing to worry about.
Thanks for taking the time to stop by--hope you all had a wonderful Mother's Day. Enjoy the rest of the week!


 Hello once again fellow crafters! For those of you who may not know--I've been missing in action for the past 2-3 months. We recently moved to a new home & I honestly didn't realize how much this move would turn my world upside down. We're now in a much bigger house where I even have a designated craft room. Something I've dreamed of for a very long time. However, settling in & getting back into some kind of a routine has taken a very long time. At least longer than I had anticipated. Many who have bought & sold homes in the past have told me that it's very normal to be completely overwhelmed when settling into a new home. So I don't feel too bad that it's taken me this long to get back into the swing of things.