Good evening fellow scrappers! Today I'm bringing you another brief tutorial. This one is very similar to my '
Ruffled Flower' tutorial but with just a couple of changes. Primary difference is my use of a different die--which gives this flower it's distinctive look.
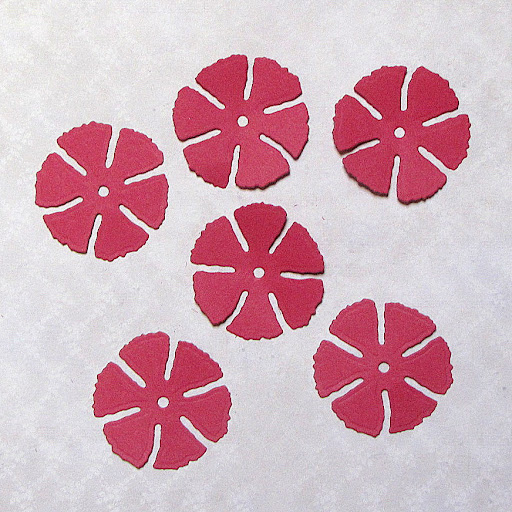
For these flowers I'm using Spellbinders Carnation Creations die by Donna Salazar. These dies seem to be made for carnations since they're named after the flower! So I figured why not make a carnation flower!? You can use any size die--it depends on what you need for your project. For this tutorial I used the second to largest sized 6 petal flower.
Step 1: You'll need 6 layers for this flower.
Step 2: If you're making a dark colored carnation you may consider inking it's edges with white since this gives the flower a more realistic resemblance to a carnation flower. Here I've used Jasmine Mix'd Media Inx also by Donna Salazar. This ink is basically like a white chalky ink and is perfect for darker colored card stock.
Step 3: These next few steps will seem very familiar since they're basically the same steps used for the ruffled flower. Take your bottom 3 layers & bend them in half.
Step 4: Then with round nosed pinchers, a skewer, a stylus or even the handle of a thin paint brush--curl the corners of each petal downwards as shown.
Step 5: Your petals should like like a wide curly 'V' when you curl the ends.
Step 6: On a foam pad or even a mouse pad--anything soft--shape your layers by cupping them with a stylus or any object with a rounded tip. You do this by pressing down in the center & going around the center of the flower in a circular motion.
Step 7: Adhere your bottom 3 layers with adhesive--I love my glue gun & use it frequently for my flowers. It dries fast & holds strong. Don't forget to alternate your petals.
Step 8: Take your top 3 layers next. Shape two of the layers the same way you shaped the bottom 3 layers. Take your top most layer and snip out one petal as shown.
Step 9: Close the gap left by removing that one petal by overlapping the two side petals and adhering them together as shown. You'll end up with a layer that looks like a little cone.
Step 10: Now shape your top layer just like all the other layers and shape them with your stylus on the foam pad/mouse pad.
Step 11: When done shaping--it's time to adhere your top layers to the bottom layers. Cup your top 3 layers as shown and adhere them to your bottom layers. Again...alternate those petals!
Step 12: If you cup your top 3 layers tightly you'll end up with hardly any room in the center. However, if you end up with a small hole as shown here...well that's what your snipped petal comes in. Shape that one lonely petal the same way you did the others...the fancy 'V'!
Step 13: Then adhere that one petal right smack dab in the center....ta-da...no more hole!
Here's another take...don't want your typical carnation or want to make a fancier flower--add stamens to the center for a different look.
Thanks for stopping by & I hope you enjoyed this tutorial. Have a great week!


8 comments:
Kay these are gorgeous, I need to try these out for sure!
Kay I am soooo glad that I found your site, these are so lovely and your tutorial is great, easy to understand and visual...the easiest way for me to learn. Thanks for sharing this adorable flower!!
Wow these are stunning Kay! I am pretty sure I need to buy some off you LOL! Lovely work and thanks for the tut :)
Stunning!
These are amazing, Kay! Thanks for sharing your process!!!
Oh beautiful. I have that died gotta try it!!
Wow Kay!... Love your flowers, thanks for your tutorial and for the inspiration.
Super Great JOB!~
-Sony
Kay I was debating whether to buy this die..thank you so much for sharing your tutorials .Have pinned it here with link to your blog post:Flower making Tutorials
Post a Comment