PLEASE NOTE: I've moved! Feel free to continue following me via my new blog Embrace Serendipity.

**All tutorials & the majority of the posts from this blog have been moved over to my new blog**


Showing posts with label 12x12 Single Layouts. Show all posts

Jun 26, 2013

You Are My Sunshine Layout


Hello fellow scrappers!  Yes, I know--where have I been!?  Well just one word.  Packing!  I'm the middle of buying & selling a home & for those of you out there that have done this, I'm sure you're quite aware as to how hectic, stressful & time consuming this entire process is.  We're set to physically move in less than a week & packing/prepping has been taking up a gigantic amount of my time--in addtion to my full time job that eats up 8 hours of my day.  I'm hoping that once I move & get the time to settle down I'll slowly get back into my old routine.  I sure do miss it!  I haven't been able to peacefully scrap in about 2 months now.

Today I finally decided to take a break & put up this post.  For me this is a sanity check--am going back for just a few minutes to something that I love which is crafting.  I decided to post this layout I made for both Authentique & Clear Scraps.  I've also used several of Authentique's new stamps made by Hampton Art.  Authentique has 3 of these sets which are co-branded by Hampton Art.  All papers used were from Authentique's Seasons: Summer Collection.

This is my son during one of his 'tummy time' sessions.  He's got these huge almond shaped eyes & this photo captured those big doe eyes at thier best.  :-)

The script stamp as well as the stamped 'You Are My Sunshine' title are new stamps by Authentique/Hampton Art.  The script stamp is from the 'Keep Me Posted' collection & the title is from the 'Footloose' collection.

The stamped sentiment is from the 'Grateful Heart' collection.

My cluster of embellies including my journaling which is stored in a scroll.  This is officially a must for me now.  I document all the stories behind my layouts & I found this to be the most convenient for me.

For this stamp I heat embossed it with black glittered embossing powder to give it a bit more dimension.

This acrylic frame is by Clear Scraps.  It's the Small Oval Fancy Frame.  To give it color I applied drops of alcohol inks directly from the bottle onto the acrylic frame.  Then waited a few minutes for it to dry.  Directly applying alcohol inks onto acrylic in this way produces much more bolder colors & design.

Another close up of the acrylic frame as well as my masking in the upper corners of my layout.  The mask used is the 6" Swirl Mascil also by Clear Scraps.
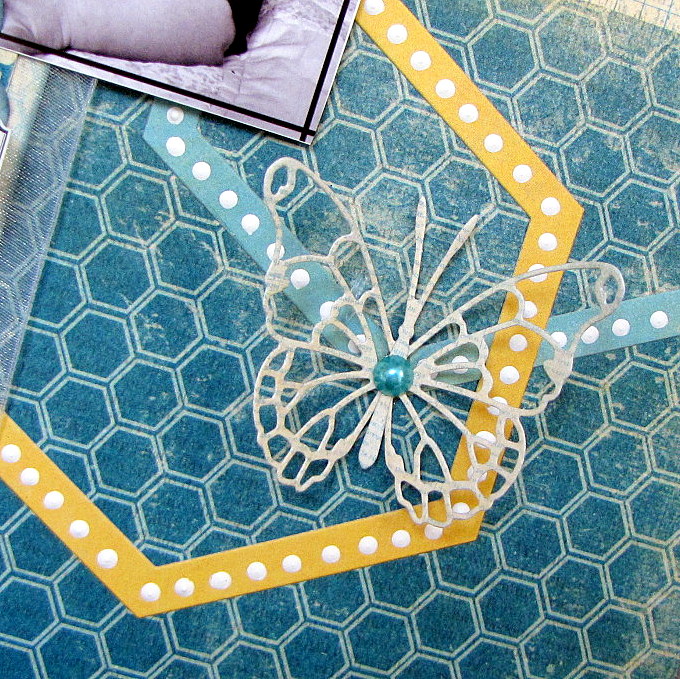
I added more dimension all along my page by placing dots of acrylic paint onto my honeycomb die cuts. 

Thanks for stopping by & I hope to be back soon with more posts.  I'll most likely be MIA for a bit longer while I move & actually settle down.  In the meantime, enjoy the rest of the week!

May 15, 2013

Endless Love Layout


Good evening fellow scrappers!  Happy May--to me May is equivalent with mom.  This particular Mother's Day was very specifal for me because it's the first Mother's Day that I'll be celebrating being a mom myself!  What an incredibly rewarding feeling this is!  So in honor of this speciall event here's a page made with me & my little guy.  This is a DT page that I've made for Authentique & Clear Scraps.  I've used Authentique's lovely papers from the 'Grace' collection. 'Grace' is geared towards mothers, sisters, daughters, grandmothers or friend.  It's lovely mixture of florals, feminine patters & sweet sentiments which made it just right for this layout based on myself with my little guy.

As my son gets a bit older it's become quite clear that he's got my eyes.  They are large, a bit on the almond shaped side & a perfect shade of dark brown.  My husband's eyes are blue & I remember that I wished so much for my son's eyes to have my husbands ocean blue eyes.  But fate decided that he would have his mother's eyes--and I'm so happy it turned out this way!  I feel so very connected with him in many ways--but the fact that he has his mother's eyes adds one very extra special connection to me.

I've also used one of Clear Scraps newest additions--a Clearly Framed Medium Circle Scallop Frame on this page.


As you can see, I've become addicted to these tiny flocked teddy bears that I buy at my local AC Moore.  I've bought many of them in all different colors!  They make for the cutest embellishments for child or baby themed pages!

The wooden sentiment spoke to me in a special way--basically because since my son was born I've always sang to him "You Are My Sunshine".  Whether it's to soothe him from crying, to put him to sleep or to make him smile--the song does wonders for him.

I've once again used the hot air balloon die by La-La Land Crafts!   I feel that it's the cutest die & can be decorated in several ways.

To make the waved border seen in the background of my page, I've used a template by Kiwi Lane called Paisley Place.   To further decorate this border I've adhered a bit of lace to the bottom layer & edge of the top layer is distressed & inked.

Here you can see several papers from the 'Grace' collection layered to form my background as well as one of their many stickers that are part of & coordinate with this collection.

Here's a close up of the Clear Scraps Scallop Circle Frame.  I first highlighted the border of the frame with a permanent white Sharpie Oil Based Paint Marker.  I then cut the frame in half--ran each half through my Big Shot in order to dry emboss it & give it a bit of dimension & texture & I was done!  This is a very simple technique for acrylic but adds a really nice subtle touch to any project.

The butterflies are items from my small Etsy shop--these would be the 'Vintage Flair' butterflies.  I have these & many other butterflies available in shop here if interested.

This lovely handmade flower was bought from yet another Etsy shop titled 'More Paper Than Shoes'.  Anna, the owner, makes many beautiful & delicate handmade flowers--not just for crafting but for weddings, corsages and more!  You can check out her shop here if interested.

I really enjoy all the little sentiments that came with this collection.  I didn't have many coordinating embellies on hand for this page--but when I saw all of the little sentiments & stickers that came with 'Grace' I realized that I had nothing to worry about.

Thanks for taking the time to stop by--hope you all had a wonderful Mother's Day.  Enjoy the rest of the week!

May 7, 2013

24/7 Layout


Good morning fellow crafters!  Today's post is a page made for Berry71Bleu's May Challenge.  The Berry71Bleu DT had the honor of collaborating with Once Upon A...Sketch (OUAS) this month!  So to enter this month's challenge you must first use the sketch provided by Nadia from OUAS & incorporate their challenge of using numbers anywhere on your project.  The number can represent anything from your age, to birthdays to an anniversary--anything with numbers will work.  Second you'll need to incorporate chipboard into your project which is Berry71Bleu's challenge.

I decided to use numbers as part of the sentiment behind my page.  This would be my son at approximately 1 1/2 months of age giving me one of his more 'pensive' looks.  :-)  Part of my journaling states how he's in my heart '24/7'.

Here's the sketch provided by Nadia from OUAS that my page is based on.

I added much more texture to my background by combining several stamps & creating a sort of collage.  I used approximately 6 to 7 stamps & created the collage by overlapping the stamped images & by using different inks to do so.  I've used black, green, purple & gray inks just to name a few.

All papers are from Lucky7 Factory & all the chippies are from Scrap FX which are also a few of Berry71Bleu's sponsors for the month of May.

I created simple circular embellishments throughout my page by using a circle punch to punch out circles & adhere them to the center of my circular stamped images with a foam dot.  I inked all the edges of the circles to make them stand out more & added dots of acrylic paint to sections of the circle borders. 

The spiral tissue flowers were also sponsored by Lucky7 Factory.  The transparent butterfly is a new embellishment that will soon be available in my Etsy shop.

I'm a big fan of owls & love placing them in my pages whenever I can.

This lovely tag was handmade by Marivic & my journaling is stored in the scroll right next to the tag.  Storing my journaling in the form of scrolls has almost become my trademark.  I tend to use these on just about all of my pages.  I have a tutorial on how I make these scrolls here if interested.

Finally, my cluster of embellies consisting of a flocked black teddy bear, spiral tissue flower by Lucky7 Factory & ribbon flowers that are from my own stash.

Thanks for stopping by & do take the time to visit both the OUAS & Berry71Bleu blogs for more inspiration.  Play along with both if you can!  There are prizes to be won by a few lucky winners on both challenge blogs!

Apr 16, 2013

Like Father Like Son Layout


Good evening fellow scrappers!  Today I'm sharing a page that recently went up on the Authentique blog.  I've used papers from their fabulous 'Strong' collection.  The patterns, designs & colors of this collection are absolutely perfect for masculine themed pages.

Lately I've been taken several photos of my husband & son together & this one is my most recent favorite.  Here they are on Superbowl Sunday posing in matching NY Giants jerseys.  Eli Manning jerseys to be exact!  My husband is making sure that my son is a die hard NY Giants fan from very early on.

From a scrapper's point of view I noticed that the bright blue colors of the jerseys went along perfectly with the colors in the 'Strong' collection.  :-)  That's how I see most of my photos...what's the predominant color in the photo and which papers fit that photo best.

I'm sure many of you are used to seeing my journaling stored in the form of a scroll.  I just can't get enough of this way of storing journaling.  I love it!!  Can you tell? I only seem to use it in just about every other layout I do.  For me it's been a life saver since I tend to tell a story with all of my pages.  I had to always adhere my story to the back and I didn't really want to do that--being able to store my story as part of my page, keeping it private & being able to add a unique type of embellishment to my page satisfies all my needs!  So I think you'll be seeing these little scrolls for a bit longer!

If anyone is interested, I did make a tutorial on how I go about making these scrolls.  You can find that tutorial here.

I framed my photo with elements & die cuts that come with the 'Strong' collection.  I just inked the edges a bit and highlighted the polka dots on the patterned paper by adding a bit of Star Dust Stickles to them.

The splatters were made with a stamp by Vilda Stamps conveniently called 'Splatter'.  I also added dots of dark blue acrylic paint to the splatters.  I randomly adhered a bit of pearls & rhinestones onto my background.

I decided to do a bit of fancy stitching on this page.  I combined both bakers twine & embroidery floss to create these very long stitches.

With a paper piercer I've pierced holes along the border.  I used the 12" Design Ruler by Tim Holtz to pierce the holes.  This ruler has holes in it just for this purpose.  I pierced every other hole in order to space out my twine/floss.  I then strung the twine through a needle and this is how I thread my twine/floss through the pierced hole & the mini note that is holding my title as well.

With a 3/16" circle hand punch, I've punched a hole in the middle of the mini note (elements that also come with the 'Strong' collection) and converted the mini note into a tag.  Instead of stringing ribbon through the hole--I instead reinforced the punched hole with an eyelet & strung the baker's twine & embroidery floss through it.  I then covered all that strung twine & floss with a brown mulberry paper daisy.

Thanks for stopping by--your visits are always truly appreciated.  Enjoy the rest of the week!

Apr 12, 2013

Authentique & Taylored Expressions Blog Hop

Good morning fellow crafters & welcome to Day 2 of the Authentique & Taylored Expressions Blog Hop! If you came here from Stephanie Kraft's blog then you're on the right track.  Make sure you began today's hop with the Taylored Expressions blog & that if you see something you like along the way, please feel free to leave comments!  Comments are always more than welcome.

If you hopped along yesterday then hang in there & keep on hoppin'.  Be sure to stop by ALL the blogs today & leave unique comments as you go for a chance to win an Authentique/Taylored Expressions Prize Pack.  Don't forget that Taylored Expressions is currently offering 10% off all their dies.  Just use code: TENOFFDIES when checking out.  Please note, this code is case sensitive & not available to wholesalers. This offer is good from April 11, 2013 until 11:59pm CST on April 19, 2013


For my project, I decided to combine Taylored Expressions 'Keeping Tabs Die' & 'Layering Doily Die - Medium' with Authentique's Renew collection.

This would be my little guy Toby giving me one of his over the shoulder looks!  I was finally able to capture this infamous move of his with my camera & this was the perfect project to showcase it.  The fabulous soft turquoise, yellow & black color scheme of the Renew collection made for a 'playful' page which is the feeling I wanted this page to convey.


Here you can see both dies by Taylored Expressions layered.  I first ran through the doily die--cut the die in half and simply flipped one half of the circle die over.  I then offset the two layers just slightly so that the black would peek through from behind the white side.  Next I layered the 'Keeping Tabs Die' which I accentuated by applying a large brad through it.

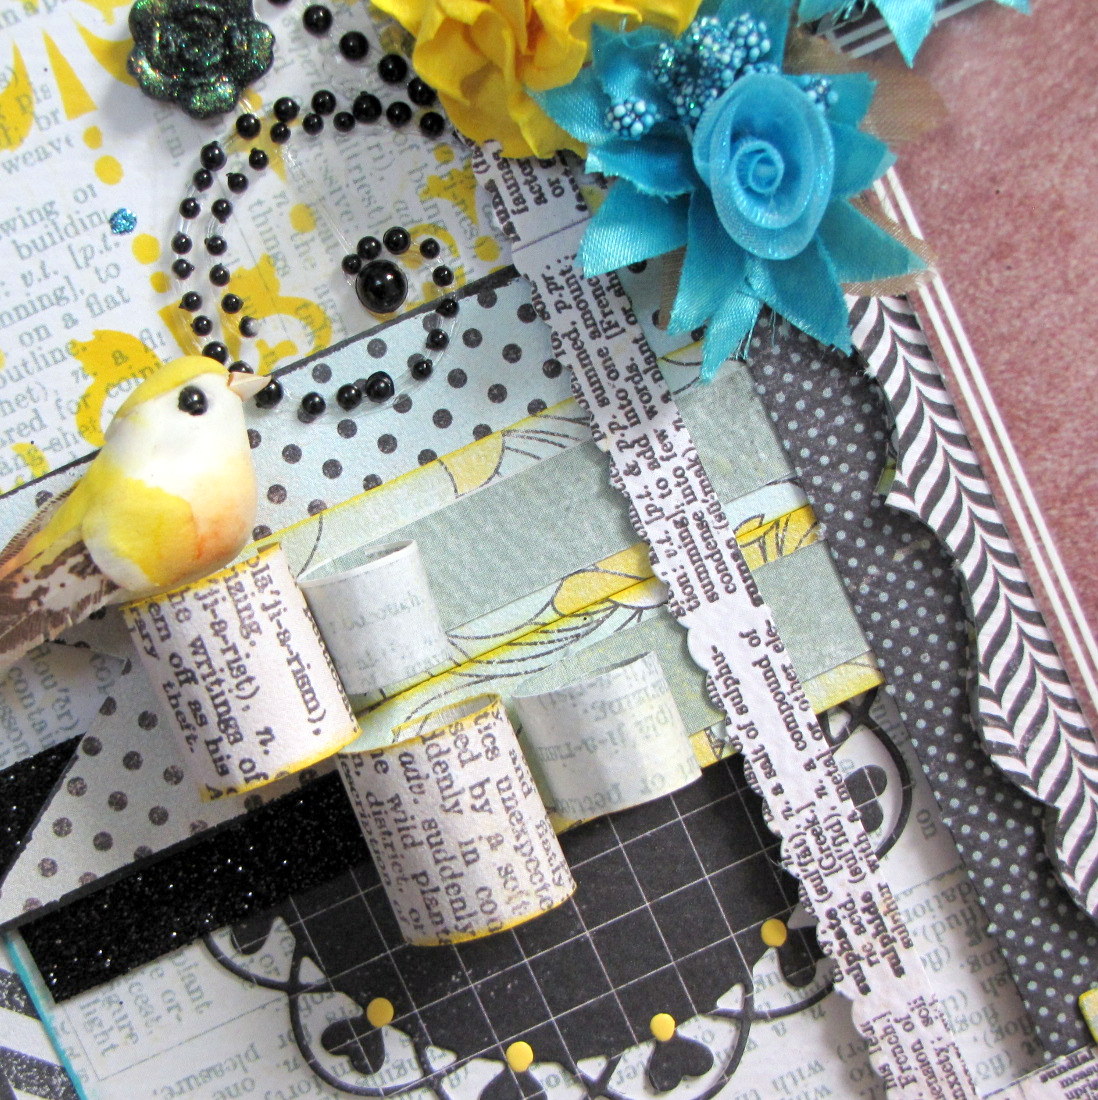
I did a bit of paper rolling as seen here to give the page a bit of dimension.  Here's the 'Layering Doily Die' once again by it's own.  I just added a bit of pastel yellow acrylic paint dots to the hearts in order to dress it up a bit.

I felt that one of these rolls made for a perfect nest for this little guy!  So I adhered him right onto one of the largest rolls.

I added a large brad to the center of each one of the 'Keeping Tabs Die'.  This formed a kind of symetrical design on my page that happened purely by accident! :-)  When I finished & looked at the page from afar I noticed it.

Here are a few more close ups...

These clear Fleur-d-Lis embellishments are by Clear Scraps.  I highlighted the border with a yellow Sharpie paint pen and added a few dots of yellow acrylic paint to them.

These bright turquoise organza star flowers are from my stash.  I have many of these in several colors which I currently have up for grabs in my small Etsy shop.

The background was made with one of Clear Scraps most recent releases--a 6" Damask Mascil.  I used Mustard Seed Distress Ink and heavily applied it to my mask because I wanted the image of the mask to display brightly.  I then further decorated the background with random dots of turquoise Stickles.


Something that has become customary with my pages is storing my journaling in the form of a scroll.  So once again, here's my story in the form of a scroll.  If interested in how I make these scrolls--I have a tutorial on my blog here.

Just in case, here's todays blog hop order--your next stop is Sankari's blog.


Thanks for stopping by & enjoy the rest of the hop!

Apr 8, 2013

Dance In The Rain Layout

Good evening fellow scrappers!  Today's post consists of a page I made for Clear Scraps a couple of months ago when we did a cross promotion with SEI, but never got around to posting.

All the papers seen here are by SEI and I've used an XL Dazed Shape & an acrylic Fleur-d-Lis by Clear Scraps.

This is my little Toby as a puppy back in 2008.  He had just finished running around or 'dancing' as I like to think of it as--in a summer rainstorm with me.  It's one of my fondest memories of him as a puppy.

Dancing in at least one summer rainstorm is kind of a tradition of mine.  This was the first time I actually had someone join me!  He ran all around the backyard in his yellow slicker--chasing me around & just enjoying life & the fabulous rain.  Needless to say, I looked just as drenched as he did after it was all over.  :-)  We had a lot of fun that day...

I'm also happy to say that this was the layout that was printed in the PaperHaus Spring Issue 2013!  I was quite honored & happy to be selected along with other such wonderful talent.

The SEI papers are from their Vanilla Sunshine collection.  It's such a bright and happy collection--I really enjoyed working with it!

The lovely ruffled light blue flower seen here I bought from an Etsy shop called More Paper Than Shoes.  Anna the owner, has many absolutely gorgeous handmade paper flowers for all sorts of occasions in this shop--she does lovely work.

The vellum flowers were handmade by me & the light blue organza star flower seen in the bottom right hand corner are flowers from my stash.   I have many of these flowers in all different colors currently available in my own Etsy shop if anyone is interested.
I tucked a bit of yellow tulle from underneath my large yellow flower--right next to it is a cute little mushroom bird. 

I feel that adding a bit of tulle to your pages softens it a bit--at least this is the impression tulle gives me.


A combination of Prima & handmade flowers.  The buttons seen here are by an Etsy shop called Zeus & Zoe.  The owner Marivic has these & many other fabulous items for crafting in her shop!
This acrylic Fleur-d-Lis is one of Clear Scraps Clearly Accent Embellishments.  I've applied drops of blue & yellow alcohol inks directly onto the acrylic in order to give it a bolder effect.  I highlighted the edges with a black Sharpie Oil Based Paint Pen.
I've stamped an image by Stampers Anonymous directly onto my acrylic background with jet black Staz On ink.  As always, do remember to use solvent ink whenever stamping onto your acrylic.  Using any other kind of ink will cause your image to smear.
I've used two punches by Martha Stewart to create this border--the deep edge Scroll Heart & the Deco Fan.  I've inked the edges & dressed up the designs of the punch with dots of Stickles & Liquid Pearls.

I applied the same technique to the edge of the acrylic XL Dazed Shape in the background--I accentuated the border with a yellow Sharpie Oil Based Paint Pen & dots of blue Liquid Pearls.
As usual, I've decided to store my journaling in the form of a scroll.  I wanted to document exactly how Toby decided to 'dance' with me in the rain that one stormy summer afternoon.

If interested in how I make these journaling scrolls--you can find a tutorial here.
As you can see, I sometimes even keep the fortunes from my fortune cookies & use them as embellishments!  I was in the process of creating this layout when we decided to get Chinese one lazy afternoon.  When I got this fortune I felt it was just right for my layout--I just inked the edges & adhered it.

Thanks for stopping by & enjoy the rest of the week!